Quiz Template
- Adopts the same formatting as slides. Create your own interactive quizzes using multiple choice and pinpoints.
- To create a quiz first add your items. See getting started.
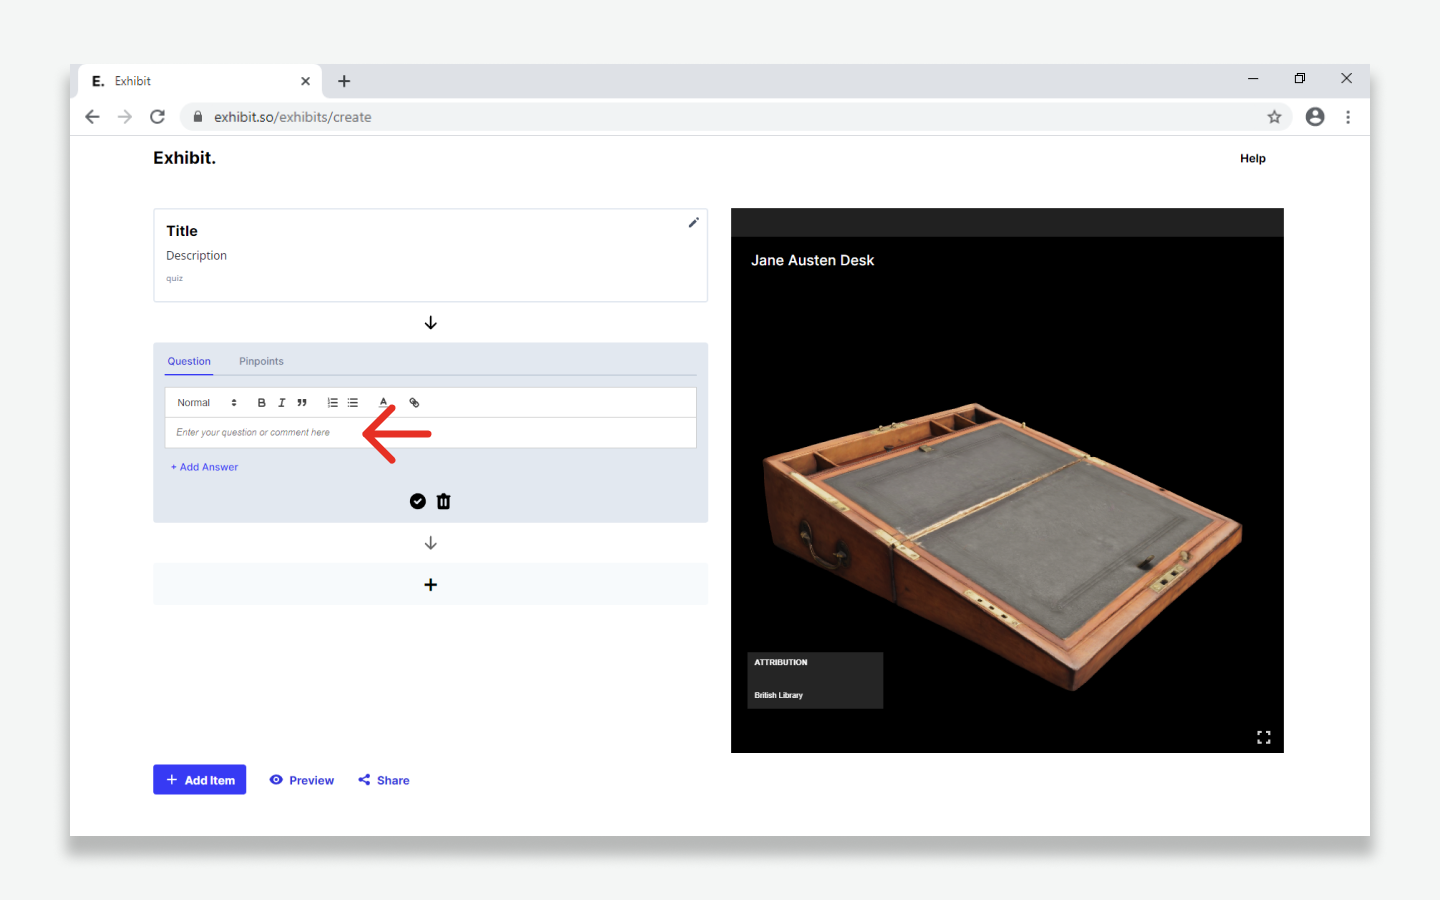
Adding questions
- Click the '+' symbol to create a new story step and add your question to the data entry field.
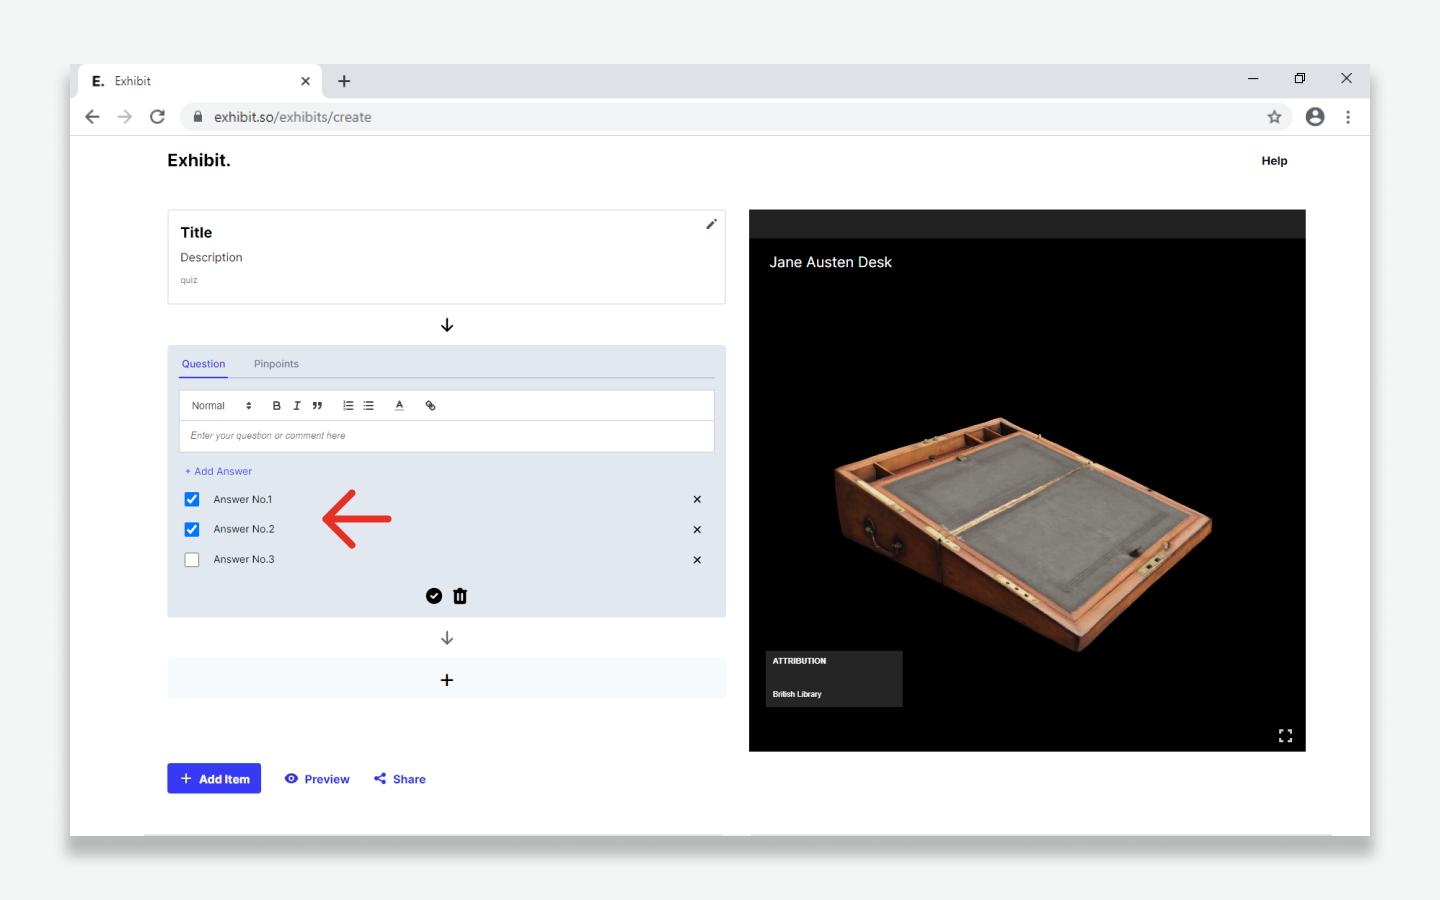
Adding answers
- Click '+ Add Answer' to create a tick box and data entry field.
- Selecting a tickbox indicates a correct answer. You can have multiple correct answers.
- Click the '✓' button to save.
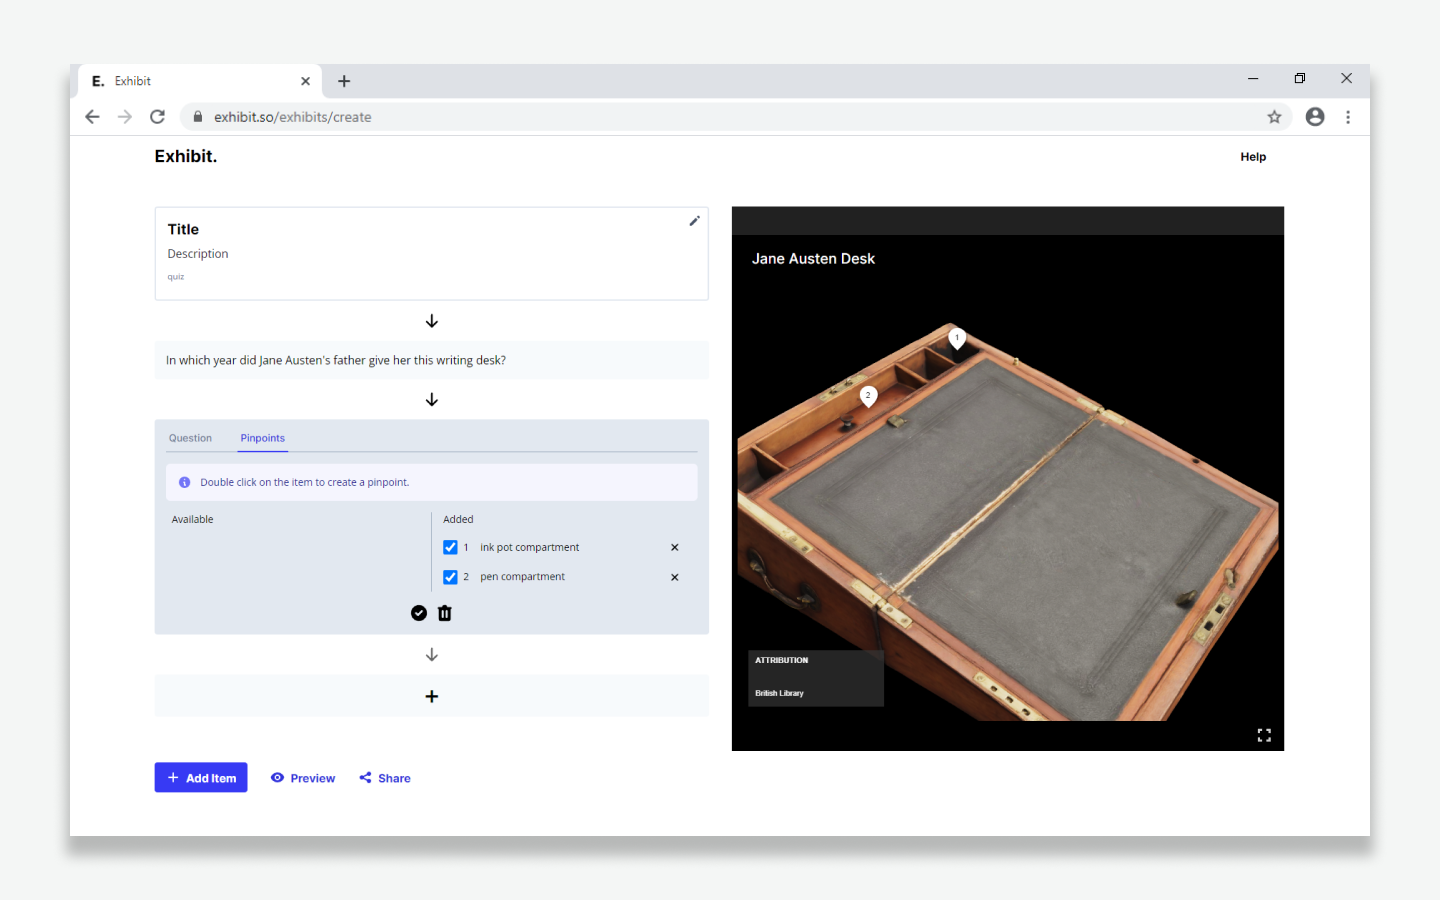
Adding pinpoints
Pin points are a visual guide to direct attention to specific points on your images and objects. It is recommended to place pinpoints on your item first and then refer to them when writing your questions and answers.
- Toggle to the 'Pinpoints' tab
- Double click the item to create a pinpoint
- Add a label to your pinpoint. Labels are not publicly visible and can be used by editor for reference.
Please note it is not possible to move pinpoints after they have been placed. You will need to delete the pinpoint and create a new one.
Using stored pinpoints
It is not necessary to recreate pinpoints for different questions. Rather,Tto speed up the editing process, pinpoints are saved globally.
- To reuse pinpoints, simply move them from the 'Available' to 'Added' column.
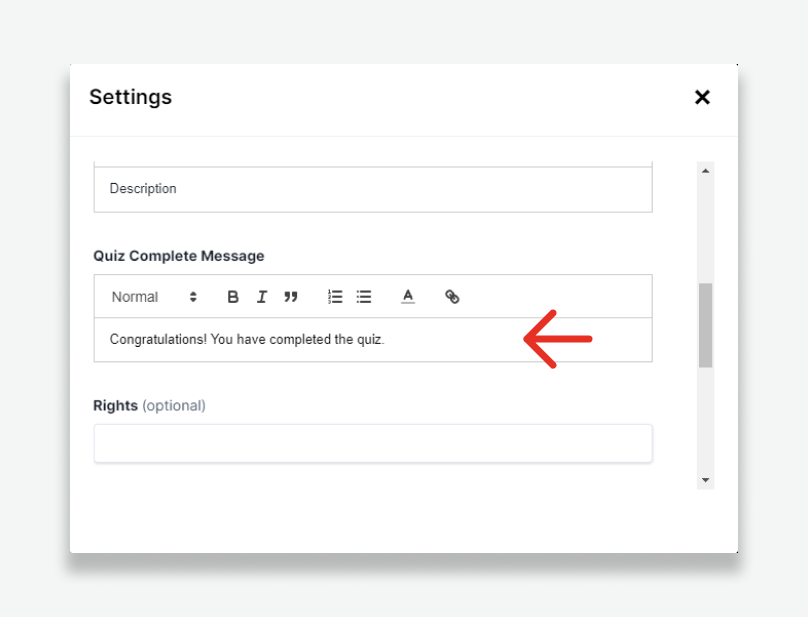
Adding a Quiz Complete Message
- On completion of a quiz, users will receive a message and a confetti animation.
- You can customise this message when creating a quiz in project settings or later, in the project settings panel via the editor.